
Play
Install the store or launcher that owns the first game you intend to run.
GAMING PC SETUP
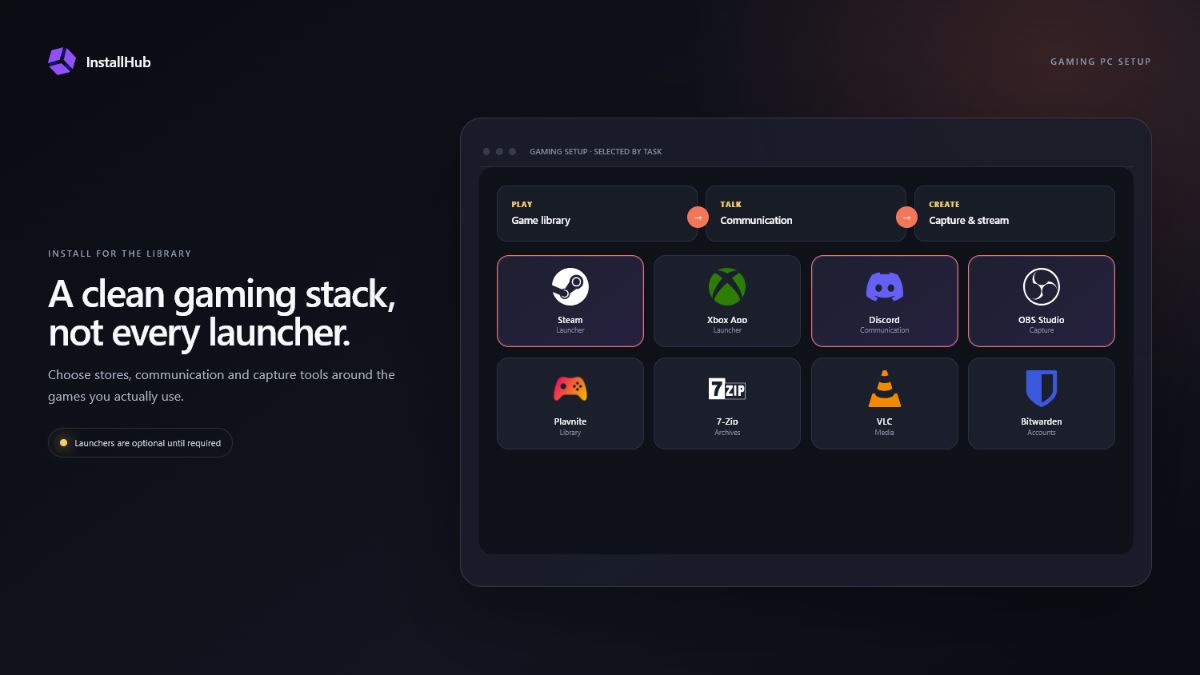
A clean gaming setup begins with Windows and hardware stability. After that, install only the stores, communication tools and capture utilities connected to your library or workflow. Fewer background clients make the system easier to maintain.
QUICK ANSWER
Update Windows and graphics drivers from the hardware publisher first. Add Steam, Xbox, GOG or another launcher only when you own games there. Recording, chat, media and archive tools are optional layers, not first-boot requirements.
BUILD THE STACK
Three decisions that shape this setup.Install the store or launcher that owns the first game you intend to run.
Choose one primary voice and community app instead of duplicating notifications.
Add recording or streaming software only if you will use those workflows.
01
Complete Windows Update, restart and confirm display resolution, audio output, network connectivity and storage space. For graphics, motherboard and peripheral software, prefer the hardware manufacturer or Windows Update over an unknown driver bundle.
Run one game before layering on overlays, capture tools and multiple launchers. That baseline makes performance or compatibility problems easier to isolate later.
02
Steam may cover most of one player’s collection, while another needs Xbox, Epic, GOG, Battle.net or a publisher-specific client. There is no benefit in installing every launcher before a game requires it.
Playnite can organise libraries from multiple services, but it does not replace the store accounts or licences behind those games. Treat it as an optional library interface after the required launchers work.
04
An archive utility handles downloaded mods and compressed files; VLC handles common media; a password manager keeps store credentials separate. Backup important documents and locally stored projects, but confirm each game’s own cloud-save behavior before assuming progress is protected.
Revisit startup applications after the setup is complete. Disable automatic startup only when you understand the effect on updates, overlays, controllers or cloud synchronisation.
COMMON QUESTIONS
Install the launcher required by the first game you intend to play. Add other stores only when your library requires them.
No. Begin with Windows and the official graphics driver. Add monitoring, tuning or peripheral tools only for hardware you own and settings you understand.
No. Save locations and cloud support differ by game and launcher. Verify the specific game before relying on sync as a backup.
Yes. Select the launchers and supporting tools you prefer, save the setup file and reopen that list in InstallHub on the Windows PC.
INSTALLHUB FOR WINDOWS
Choose the applications you prefer. InstallHub shows the route and leaves installation decisions under your control.
Download InstallHub





03
Add communication and capture deliberately
Discord is common for communities and voice chat, but some groups use another service. Keep one default unless a team or game requires more. Check microphone, notification and startup settings after signing in.
OBS Studio is suitable for flexible recording and streaming. ShareX or Greenshot is lighter when you only need screenshots. Recording tools consume storage quickly, so choose a dedicated folder and review free space.